The 'Send' feature on Rivet lets you quickly and easily get paperwork or documentation finalized and organized by project.
Below is a quick overview of how to send from a mobile device. If you're on your desktop or laptop, see this help article.
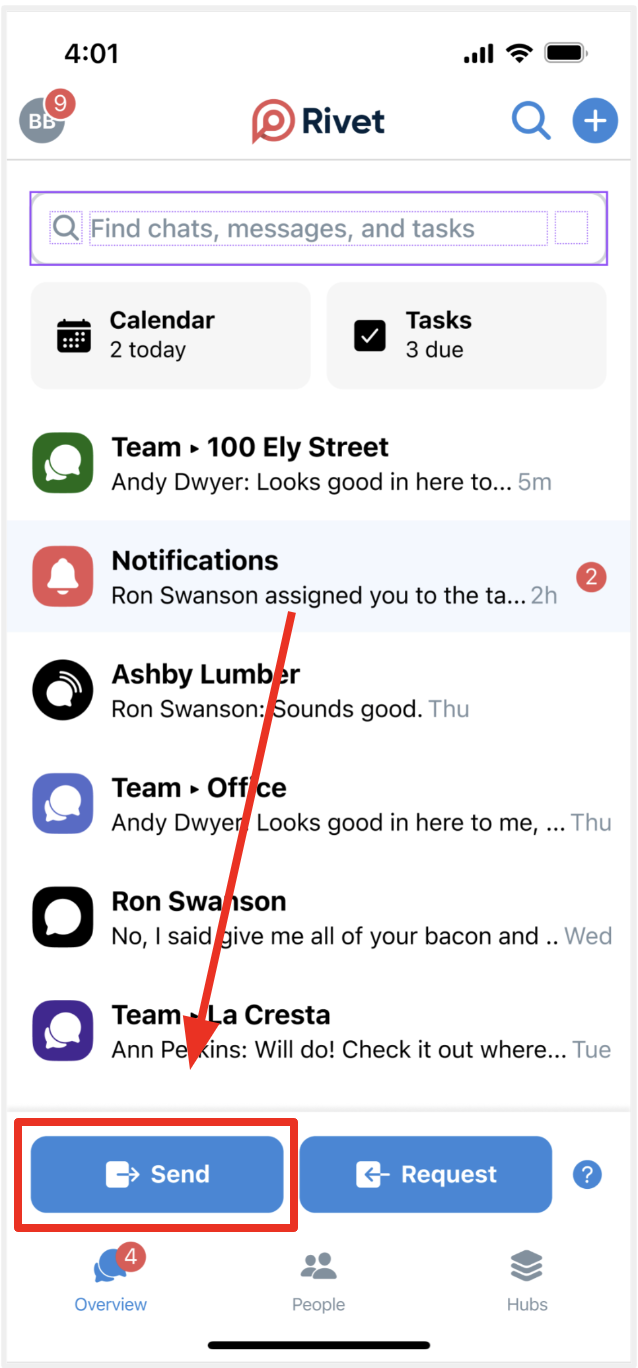
1. From the 'Overview' tab in the main bottom navigation, tap the blue 'Send' button.
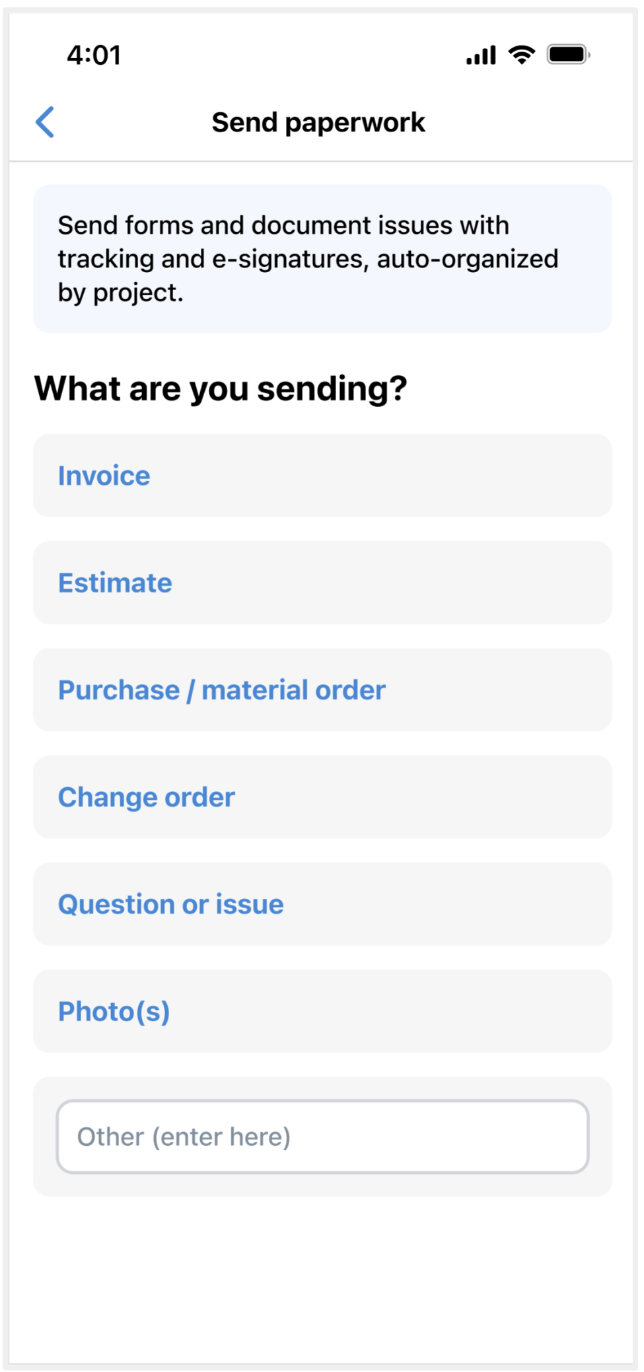
2. Next, select the type of form or documentation you're sending.
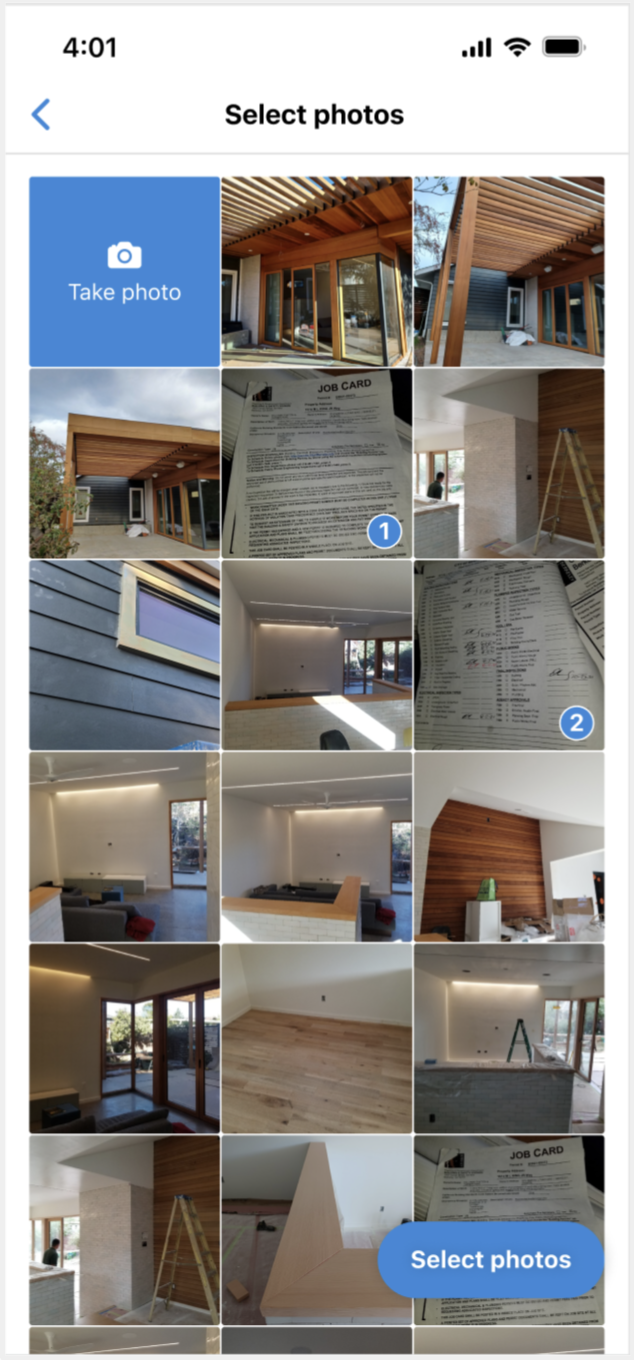
3. Once you've selected the type, you will see the photo picker where you can take a picture of whatever you're documenting / sending (a form, receipt, delivery photo, etc.) or select from your photo library.
Once you've selected all the photos you'd like to include, tap the blue 'Select photos' button at the bottom right hand corner of the screen.
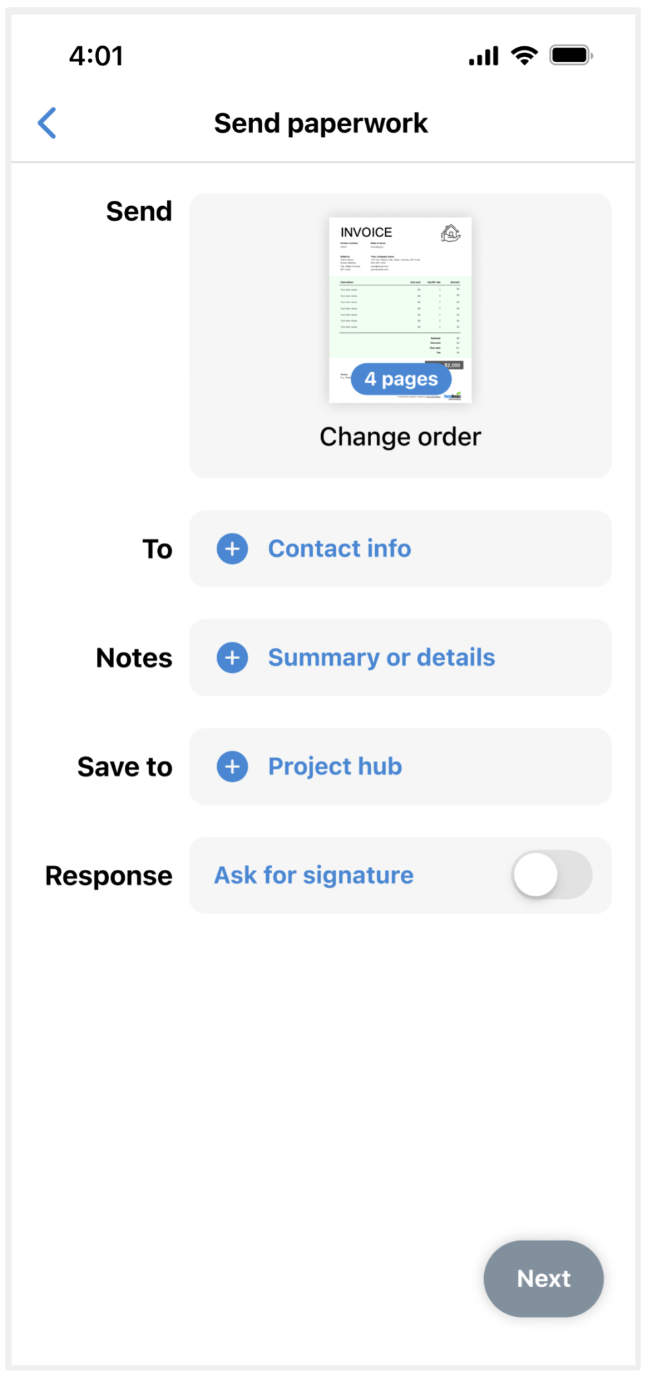
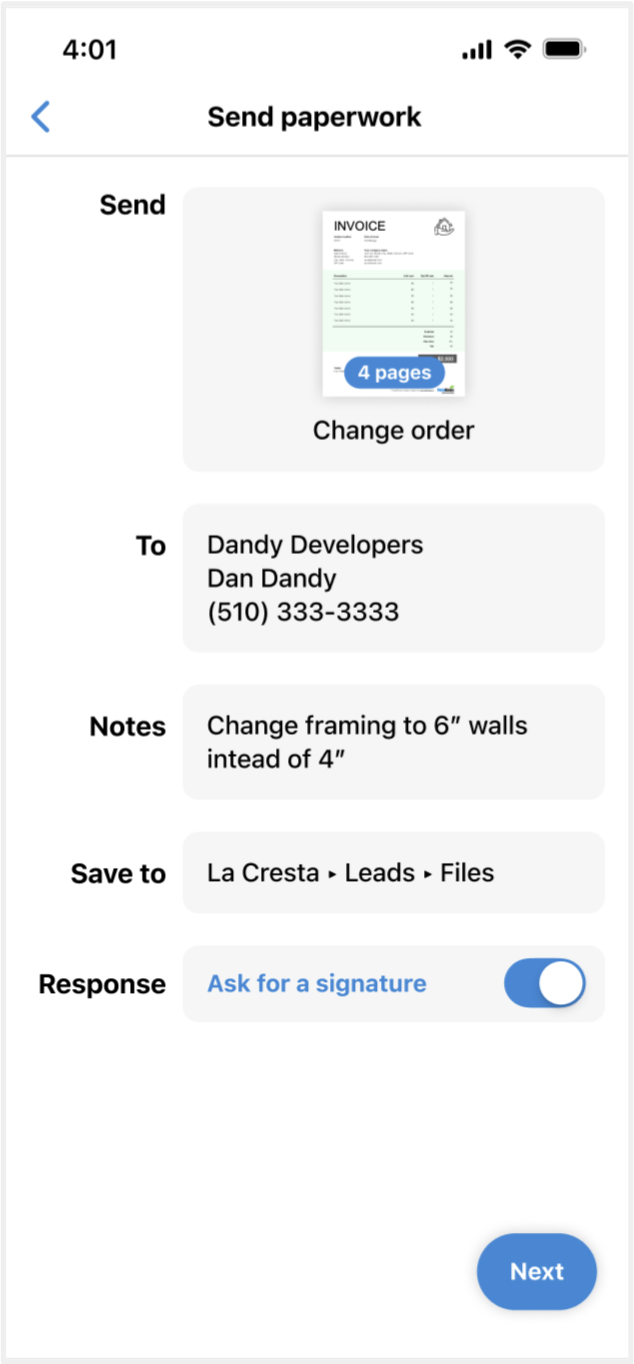
4. Next, you'll need to fill out a bit of information so we know where to route the paperwork:
'To' field (required): add the person you want to send the paperwork to. You can add from your phone's contacts and all info will pull in. If you want to email the request, you'll be able to add an email address after you select them.
'Notes' field: add a summary or details that give the person you're sending to more context about the paperwork.
'Save to' field (required): once your paperwork is done, we'll add the finished PDF to the 'Record' section of the Project Hub you select.
'Response' field: here you can toggle on or off the ability to request a signature.
Once you've filled out all the required fields, tap the blue 'Next' button located at the bottom right hand corner of the screen.
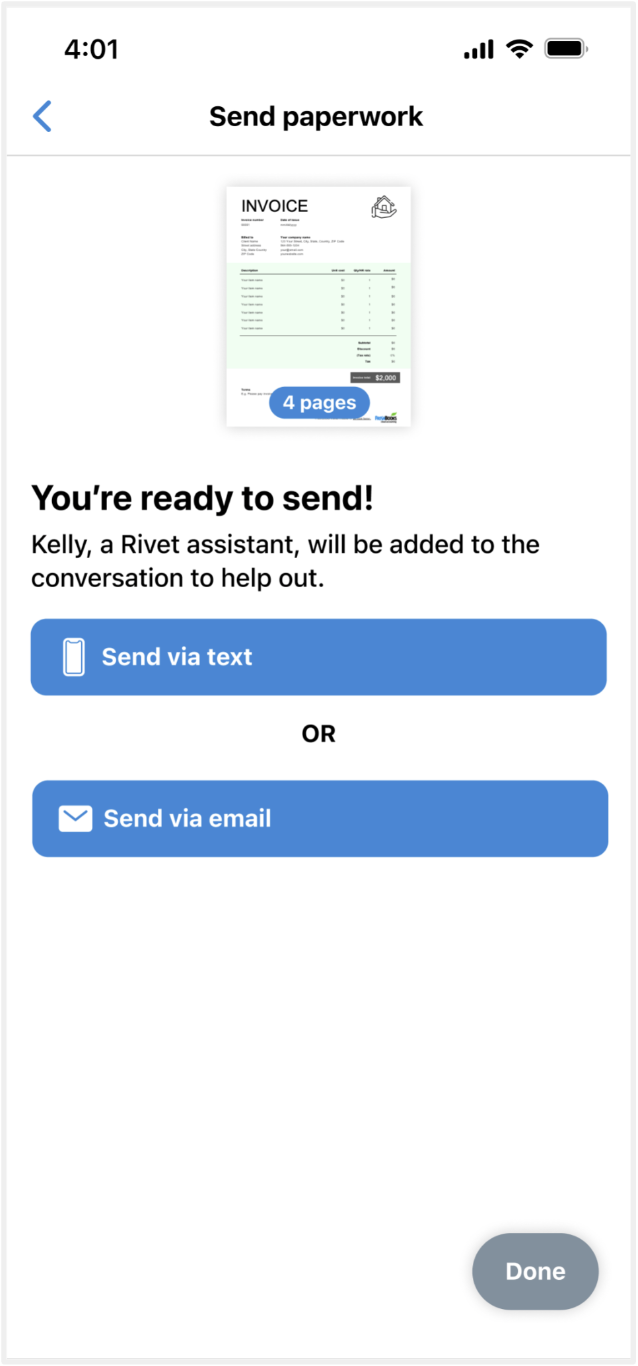
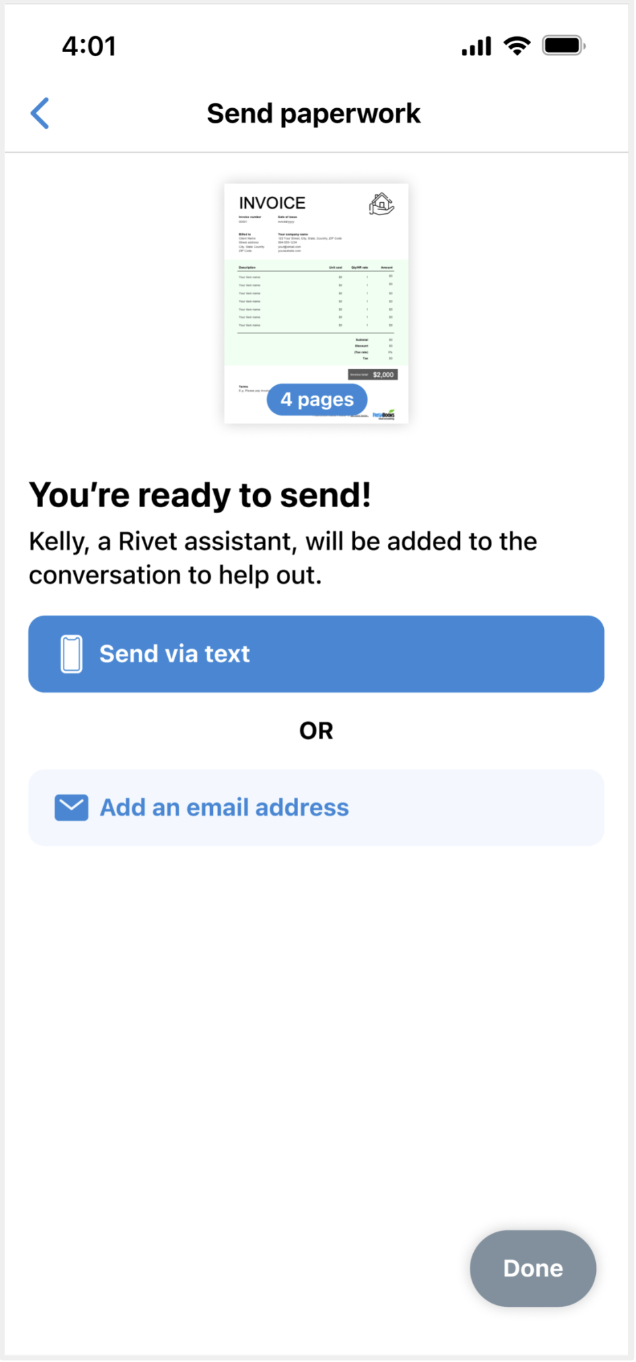
5. The app will then compile your photos into a PDF. The last step is to select how you'd like to send the request - through email or text.
If you want to send to both, simply tap the blue 'Send via text' button, and send the message. You will land back on this screen and will be able to then select the blue 'Send via email' button.
That's it! Rivet will do the rest to follow up and make sure the person you've sent the file to is reminded to sign (if you've requested signature) or will send the completed PDF to your Project Hub record and the person you've selected to send the file to.
Questions or requests? Reach out to us:
email: help@joinrivet.com
call/text: (510) 281-8840