The goal of the the 'Project Contacts' section on Rivet is to get work contacts out of everyone's phones & emails and into a central spot so anyone on your team can solve problems faster and not have to wait on someone else to pass on a contact.
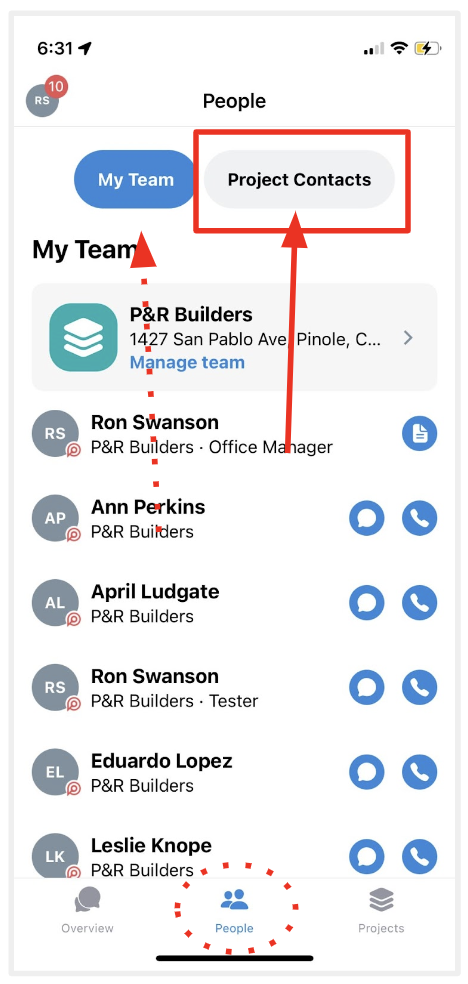
The Project Contacts list is located in the 'People' section in the bottom main navigation. By default, when you tap this section you'll see the 'My Team' view. Tap the grey 'Project Contacts' button located at the top of the screen.
Here's what an empty "Project Contacts" list looks like:
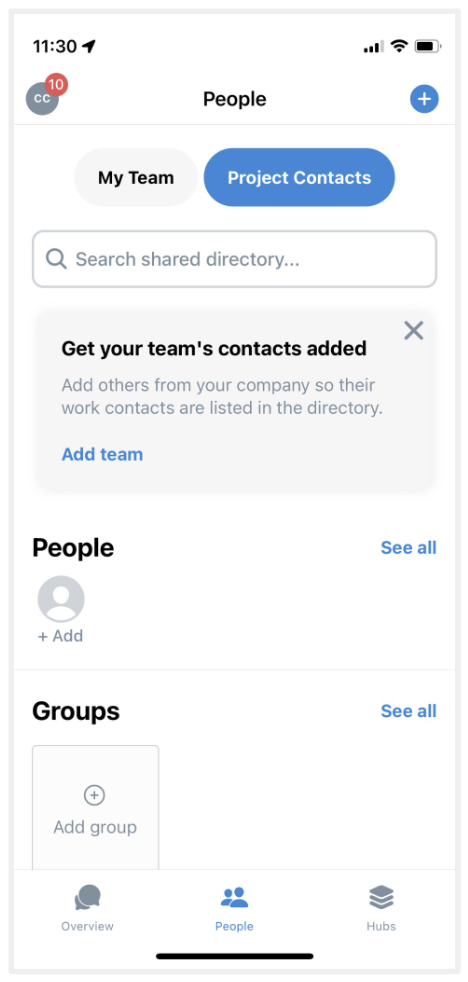
In your Project Contacts list, there are three sections:
• People - this is where you can add individuals, not grouped in any way (NOTE: any new person added to a Company or Group will be added to this section)
• Groups - this is where you can form groups of individuals to easily kick off communications, assign tasks, and add people to things in Rivet.
• Companies - this is where you can add the partners (like subcontractors, vendors, suppliers, etc.) that you work with.
Here's how to get started:
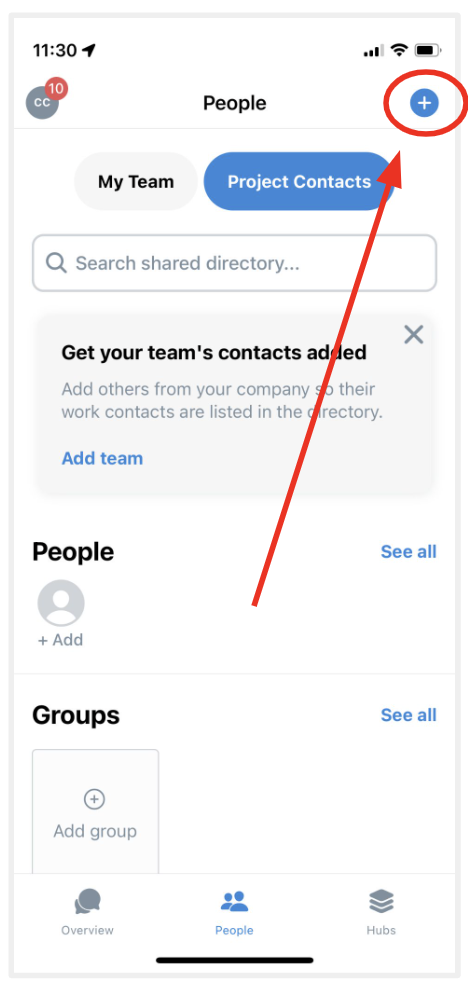
1. Tap the blue '+' icon in the top right hand corner
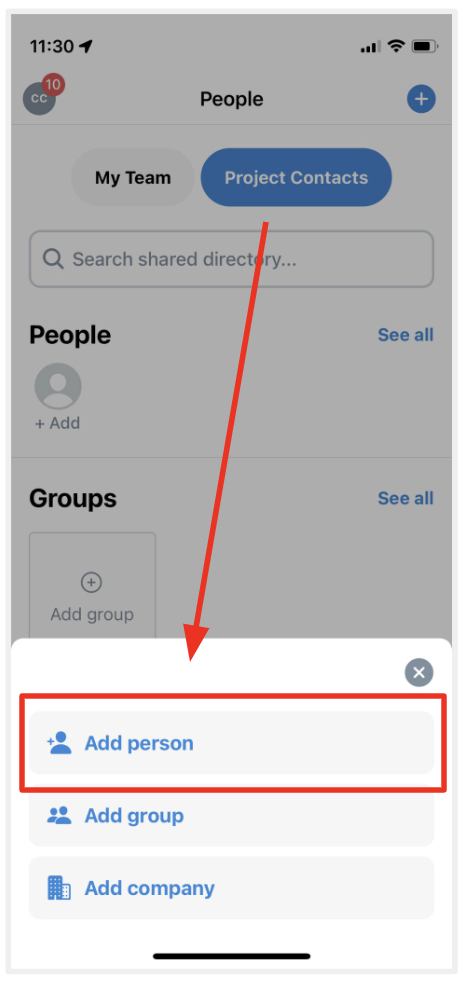
2. Next, tap what you'd like to add first. In this case, the grey 'Add person' button was tapped.
3. The first time you go to add anyone to your directly, you will get the below screen. Here you can select how you'd like to set up your Project Contacts list.
• Use phone contacts - we highly recommend you use this option if you don't have a spreadsheet of contacts already as it is much faster. For this option, you will be able to select from your phone's contact book to add people.
• Upload a file - if you already have a file, send it over to our engineering team and they'll format and upload entries into your Project Contacts list
• Manually add - you will have to add information for each individual that you'd like added to your Project Contacts list.
On any person you add (to the People section, Contact Group, or Company), you will be able to enter information like phone number, email address, role, contact preferences, and language preferences.
Once you've set up your contacts, you want to make sure to tell your team to add the contacts stuck on their phone so if they're busy, out, or leave the company, those contacts are still in your Company's Project Contacts list.
Questions or requests? Reach out to us:
email: help@joinrivet.com
call/text: (510) 281-8840